How to Start Autonomous Software Testing for Free
 Rui Li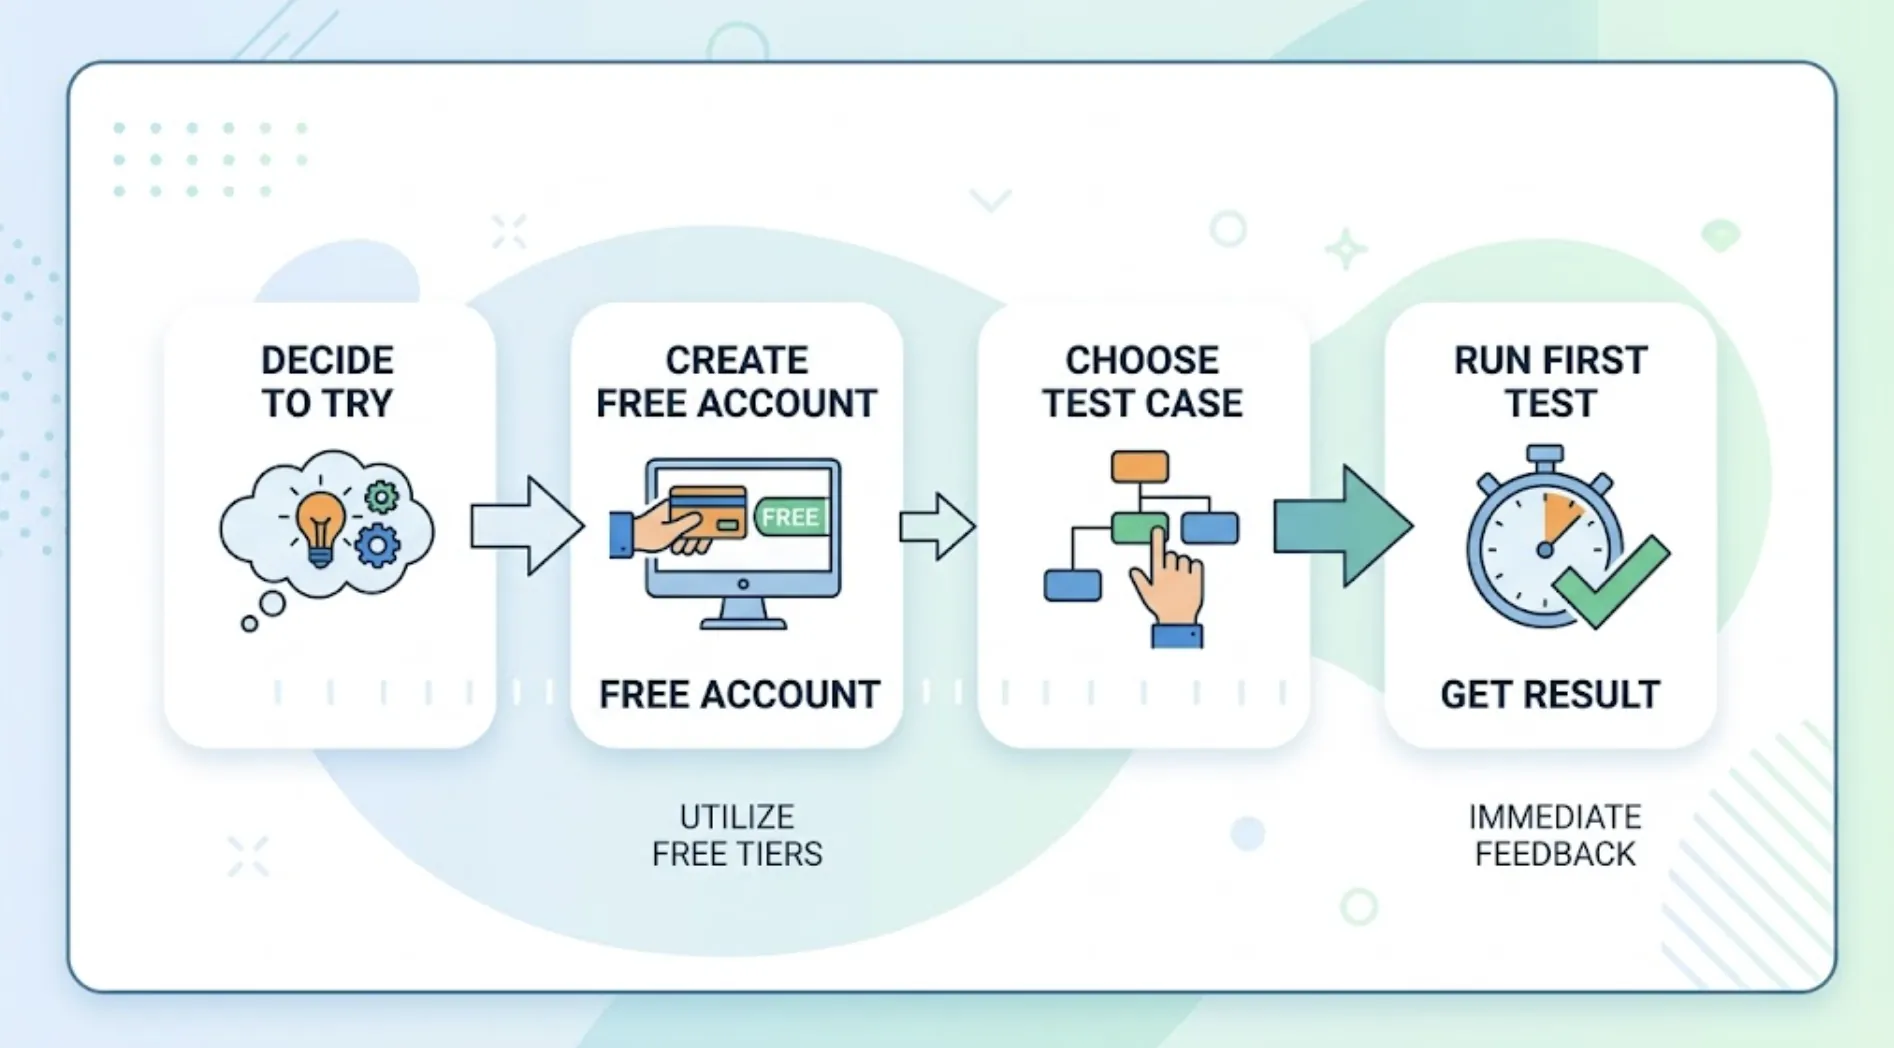
Setting up an AI testing tool on a project doesn't require a budget conversation first. Here's what actually happens between deciding to try one and getting your first real test result, using nothing but TestSprite's free tier.
What "Free" Actually Includes
TestSprite's Free plan costs $0, includes 150 credits a month, and doesn't require a credit card to start. That's enough to run a meaningful number of test sessions against a real project, not just a demo or a toy example, which matters if the goal is to evaluate whether autonomous testing actually catches something useful in your own codebase.
The free tier gives access to the core pipeline, discover, plan, generate, execute, analyze, heal, report, through both the MCP Server and the Web Portal. What it doesn't include, features like Auto-Heal Rerun and Test Schedules that start on the paid plans, matters less for a first evaluation than actually seeing the agent open your application and find something real.
Worth being clear about upfront: TestSprite is an AI testing tool built specifically for the moment right after an AI coding agent finishes a task, not a general QA platform with AI features added on top. That's a narrower job than most tools in this category try to do, and it's the reason the free tier is generous enough to actually judge on a real project rather than a sandboxed demo.
Step One: Connect the MCP Server
The fastest path to a first test doesn't start in a dashboard. It starts inside the AI IDE already in use for development.
The TestSprite MCP Server connects to Claude Code, Cursor, Windsurf, Trae, VS Code, GitHub Copilot, Kiro, and Codex. Setup happens once, following the installation steps at docs.testsprite.com, and after that, no separate login or context switch is required to run a test.
Step Two: Run the First Test on a Real Feature
Skip the temptation to test something trivial first. A first test against a login screen or an empty page doesn't tell you much about whether autonomous testing will catch the failures that actually matter in your product.
Pick a feature with some real logic behind it, something with a form, a multi-step flow, or a calculation, and type the instruction from inside the IDE:
"Help me test this project with TestSprite."
Other verification tools read your code and guess. TestSprite opens your app and uses it.
The exploration agents open the running application, navigate the feature the way a real user would, and return a report describing what they found. This is the moment that actually answers the evaluation question: does this catch something a code review or a quick manual click-through would have missed.
A Scenario: A Solo Developer Testing a Personal Finance App
A solo developer building a personal budgeting app as a side project has been relying on manually clicking through features after each coding session, which works until the app grows past a handful of screens and manual verification starts eating real time.
They connect the MCP Server to their Claude Code setup, a five-minute process following the documented steps, and run the trigger instruction against the app's recurring transaction feature, which lets a user set up a monthly expense that gets automatically logged.
The free tier's exploration agents create a test recurring transaction, advance through a simulated billing cycle, and check that the transaction logs correctly and that the account balance updates to reflect it. The test finds a session timeout issue: if the browser tab stays open long enough for the auth session to expire mid-flow, the recurring transaction setup silently fails to save, with no error shown to the user, who assumes it worked because the form closed normally.
That's a real bug, found on the first real test run, using nothing beyond the free tier's included credits. The failure description specifies the session state and the missing error handling, which the developer feeds back into the same Claude Code session to fix: adding a session check before the save completes, with a clear error message if the session has expired.
Step Three: Explore the Web Portal for a Fuller Picture
Once the in-IDE trigger has produced a first result, the Web Portal is worth a look even on the free tier. It's where run history, the three-column live view of exploration in progress, and the editable Feature Map live, giving a sense of what the agent understood about the product's structure and what it covered during the run.
This is also where a PRD, if one exists, can be uploaded to anchor future test sessions more precisely to intended product behavior rather than relying entirely on the MCP server reverse-engineering intent from the codebase.
Step Four: Decide What's Next Based on What You Actually Saw
The free tier's 150 monthly credits are enough to run autonomous testing against a real, actively developed project for a meaningful stretch, not just a single demo session. Whether to move to a paid tier is a decision best made after seeing what the agent actually catches on your own code, not before.
If the project reaches a point where scheduled overnight regressions, Auto-Heal Rerun, or advanced backend API tests become useful, the paid plans add them: Starter at $19 a month includes five Test Schedules, Standard at $39 a month includes ten, and Pro at $69 a month makes them unlimited. But that's a decision for after the free tier has answered the more basic question: does this find real problems in this specific codebase.
Conclusion
Starting autonomous testing doesn't require committing to anything upfront. Connect the MCP Server, run one real test against a feature with actual logic behind it, and see what comes back. The free tier's 150 monthly credits are enough to answer the question that matters before any billing decision: whether autonomous testing catches something in your product that manual checking was missing.
Start testing for free at TestSprite and run your first real test today, no credit card required.